Step 1:
Install beSTORM and an SSH server on two separate machines that are not otherwise in use or on a network.
Assign IP addresses to beSTORM server and target server like: 192.168.1.2 and 192.168.1.1
Connect the beSTORM server directly to the machine running the SSH server with a network cable, and no switch in the middle.
Step 2:
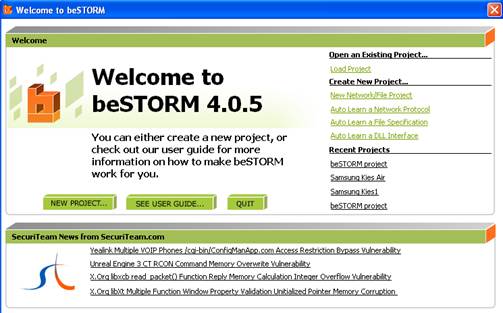
Start beSTORM on the client machine and click on the New Project button:
Step 3:
Give the project a name, accept all other defaults and click Next
Step 4:
From the list of modules, select SSH. Set the Target Host Settings to be the IP of the SSH server and the Remote Port to the SSH port (usually 22).
Step 5:
Set the sername and password to the correct SSH username and password for checks beyond the SSH login.
Step 6:
If the SSH server is a Windows server, install the beSTORM monitor on it, run the monitor on the SSH server machine, attach it to the SSH process and put the IP of the remote machine on the Monitor-Configuration page and select Remote Debugger.
Alternatively, if the SSH server is not accessible, on the ‘Monitor configuration’ page, select ICMP Echo and TCP Echo, and accept all other defaults.
Step 7:
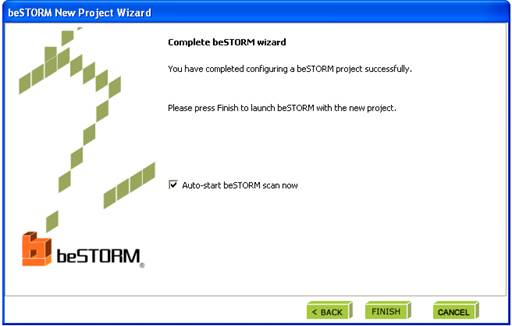
Click ‘Finish’ to end the wizard and save settings as a Project. The testing will start automatically if the Auto-Start box is checked.
Step 8:
If an exception happens (an attack is successful) a message will pop up briefly to let you know the remote server is not responding.
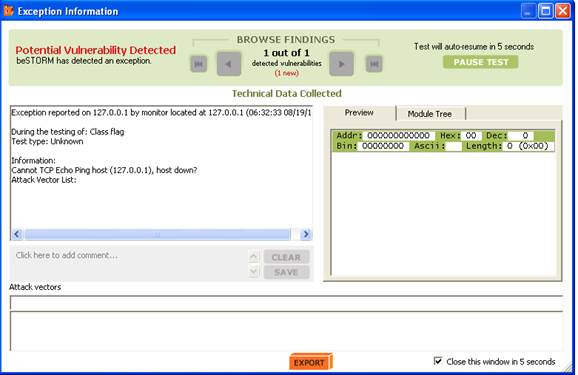
This indicates a possible vulnerability. Testing will resume in 5 seconds unless Pause Test is pressed.
When the testing is finished, click on ‘Report’ to see a short report:
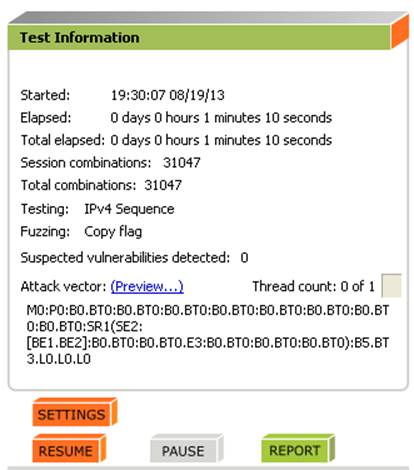
You can also select Report->Generate Report from the menu to generate a more complete report of the testing: